Saying goodbye to old gaming hardware isn't easy for some. The countless hours you spent together, and the good times that are had. That chip on the corner from when it was charging and you tripped over the wire and sent it flying. Memories. Thankfully, with the Nintendo 3DS family of systems, you can retain most of those memories when the time comes to upgrade. Just not how scuffed up and loved your last unit looks. But give it time...
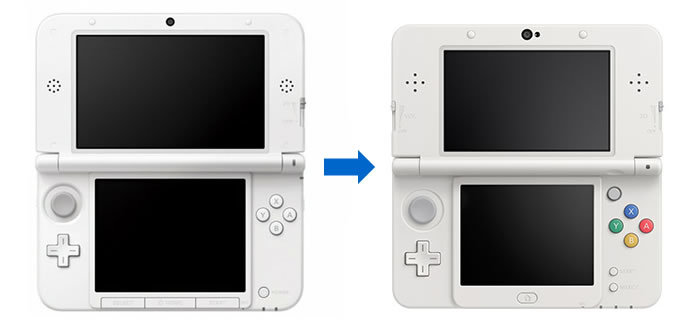
When you change/upgrade 3DS console, you're given the option to transfer all your data across to your brand new handheld, keeping all your saves, download games, and terrible 3D pictures of your cat. The 'soon to be launched/some lucky people already have one' New Nintendo 3DS (and New Nintendo 3DS XL) consoles are no exception. However, the process of transferring your data across is a tiny bit more tricky, due to the lack of 'ye olde' SD card slot. Instead, the console has upgraded to a Micro SD card for it's memory format.
So, for the no-so-technical savvy, and those nervous about losing everything in the process, enjoy this step by step guide on how to transfer your data from your old 3DS console to your new...new 3DS.
Apologies for the bad lighting and screen glare. Good old British weather and windows being in the wrong place.
What you will need:
- Your old 2DS/3DS/3DS XL console (fully charged)
- Your New Nintendo 3DS/XL (fully charged)
- Micro SD card that has the same storage capacity/is bigger than the SD card you're using now (i.e. if you have a 4GB SD card, you need a 4GB Micro SD)
- Screwdriver for getting back cover plate off
- Stable Internet connection
Optional:
- A PC/Mac to transfer data between cards
- Access to a 3DS charger should battery get low (but charge up the consoles first and you should be fine)
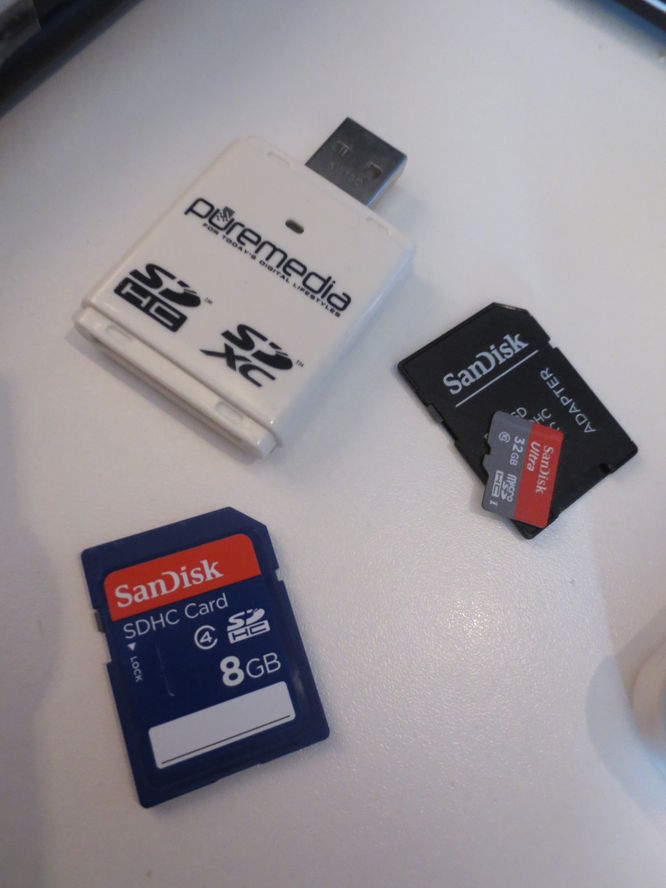
- A microSD to SD card adapter, or a microSD/SD reader built in to your PC
This guide is targeted to those transferring using a standard SD card. If you are already using a microSD card in an adapter on your 3DS some of these steps may not apply to you. Follow the on screen instructions at all times.
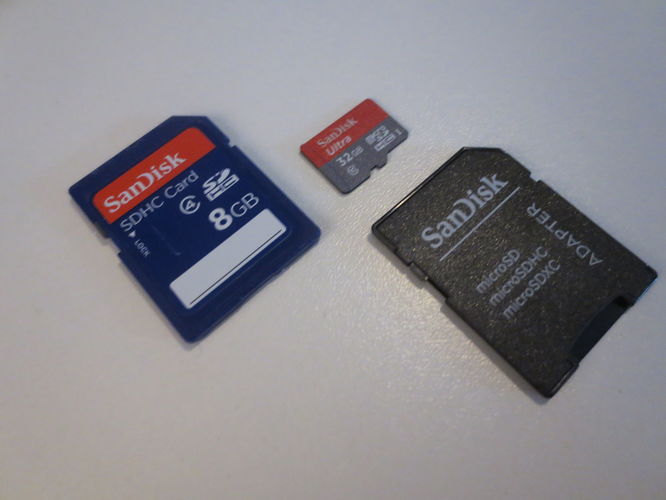
3DS SD card, New 3DS Micro SD card, and micro SD card adapter
Before setting up your New 3DS, you need to remove the back plate carefully using a small screwdriver to unscrew the two retaining screws that are holding the back plate on to the console, as shown in the picture below. It can be a little bit unclear as to whether you're actually managing to unscrew things here to begin with, as the screws are very short, and don't appear to move, but if you've done it correctly, the back plate should come off quite easily with your fingers. If the back plate isn't coming off easily, DO NOT force the back cover off as it will snap. You probably just need to unscrew it some more. Also, be sure to use the right size screwdriver. The wrong size could possibly damage the screw causing future difficulty when removing/replace the back plate.
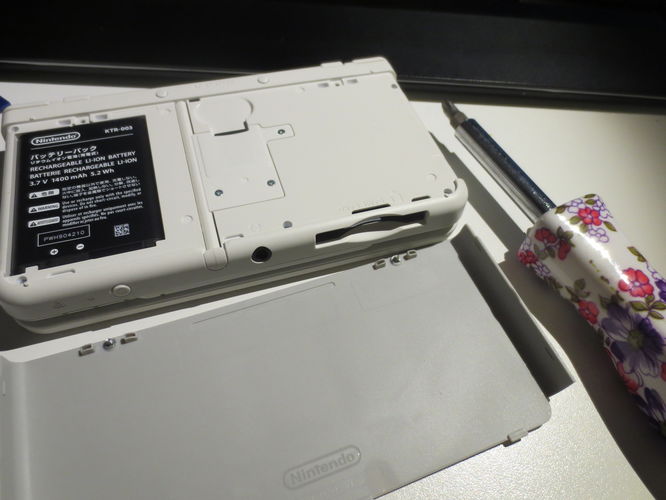
The view with the back plate removed. DO NOT remove the battery. Just leave it alone.
This is completely optional at this stage, but I also removed the 4GB Micro SD which was included with the console and replaced it with my 32GB Micro SD card. Seeing as the data on the Micro SD card inside the New 3DS will be lost during the transfer process anyway, it doesn't really matter which card you put in initially. I recommend leaving the back plate off during the process for easier Micro SD card access.
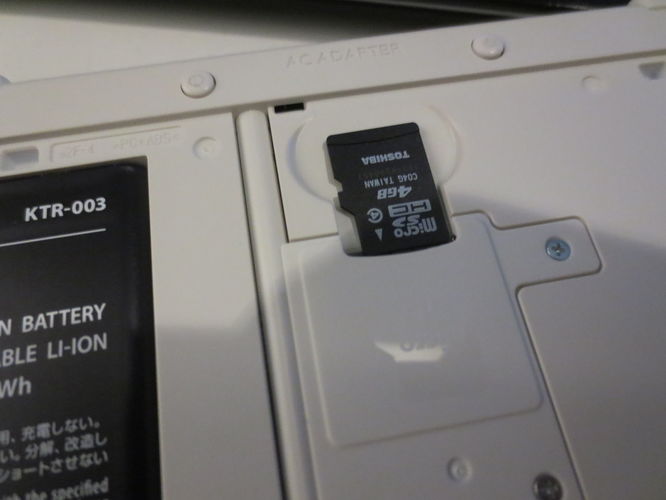
New Nintendo 3DS consoles include a 4GB Micro SD card
With the Micro SD card in place, it's time to begin. Switch on your new 3DS, and follow the on screen instructions to set up the console as usual. One important to step to remember - you must set up an internet connection on this console for the transfer to take place.

The New Nintendo 3DS uses face tracking tech
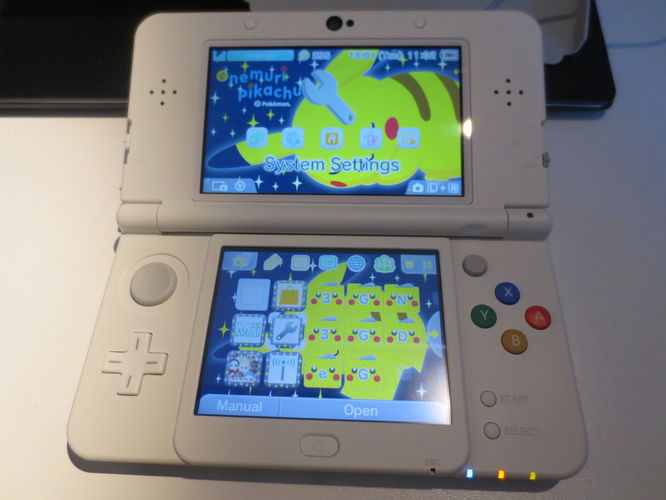
When you've finished the initial set up process, you'll be asked if you'd like to do a system transfer from an old model. Which yes, we do want to do! But...after pressing transfer... you'll be greeted by a message, telling you 'you don't have the latest software update'. D'oh!
On the New 3DS, go into the system settings and select the system update button. This will update the firmware on the console so you can perform the system transfer. This might take around 10 minutes, it's a fairly large update.
You'd hope Nintendo might pre-install the latest firmware on the new consoles in the future, so you can transfer straight from the set up screen.
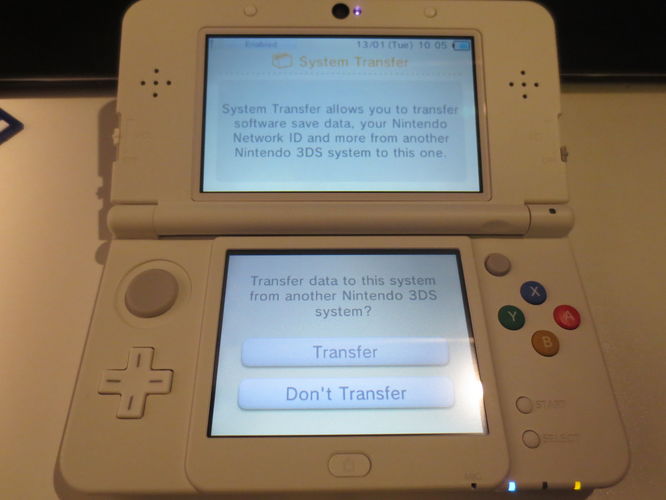
Yes please! Oh I need a system update first? Ok :(
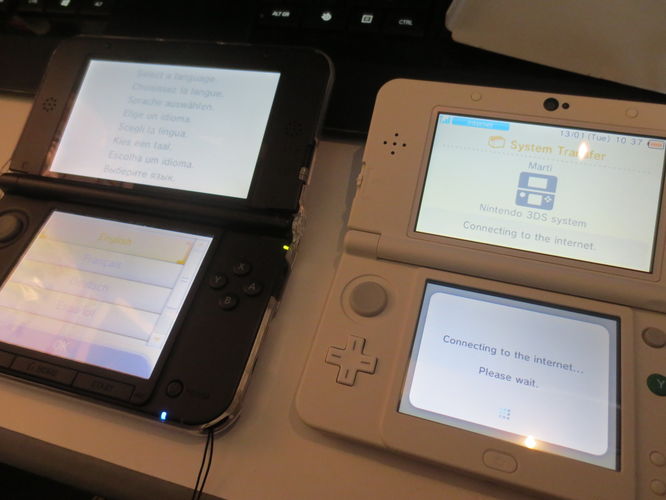
With the system update out the way. Go into the settings menu on both consoles and select system transfer. On your old console, select "Send from this System". On your new console select "Receive from a Nintendo 3DS System".
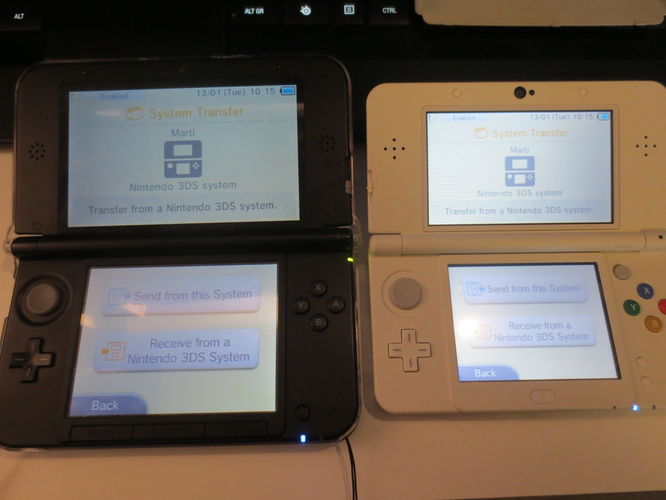
Here we go...
To be able to transfer all your purchased content/eShop data, you'll also need to enter your Nintendo Network ID password again for security. Don't worry if you've forgotten, as there's a handy 'forgot my password button' on the screen.
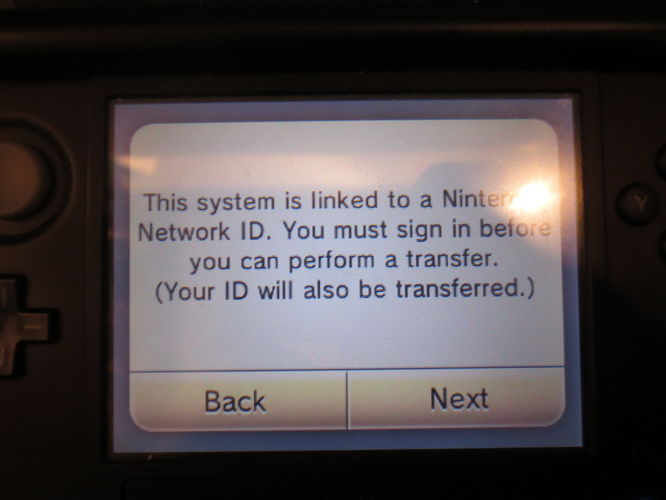
No problem! Erm...what was my password again...
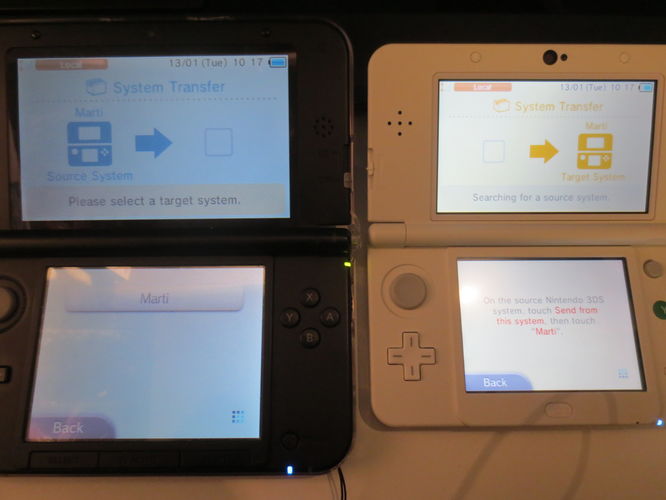
Select the target console
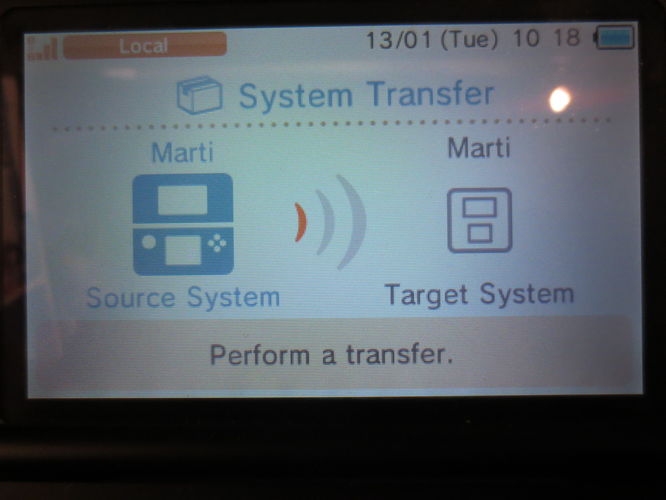
The old....
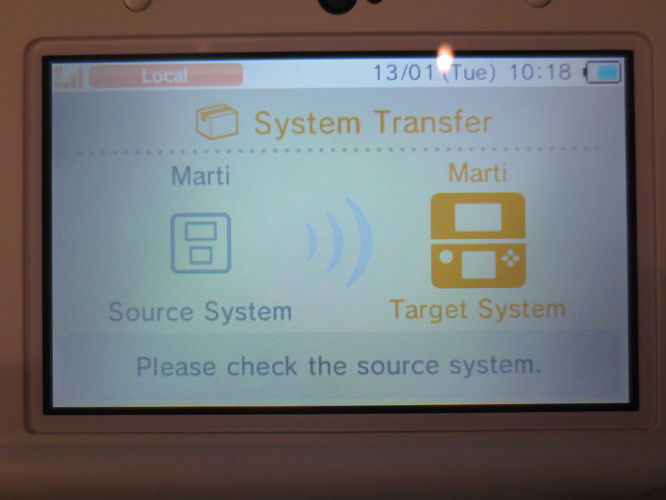
....the new
For the next few steps, all you really have to do is follow the on screen instructions. If starting with a fresh microSD card you should have nothing to worry about.
The process should automatically back up content you have stored on your old system for transfer. Even DSiWare if you've still got some of that lurking about.
I didn't even realise I still had DSiWare content
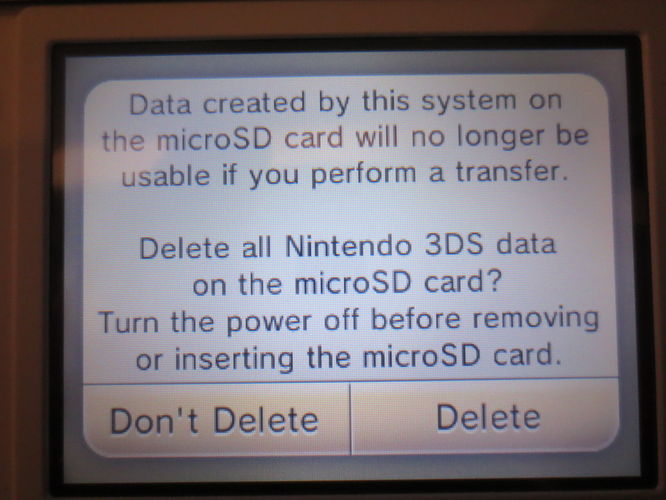
And now, here's the tricky bit. After having backed everything up, you have to decide how you want to get things from your old console to the new:
Annoying change of memory format is annoying
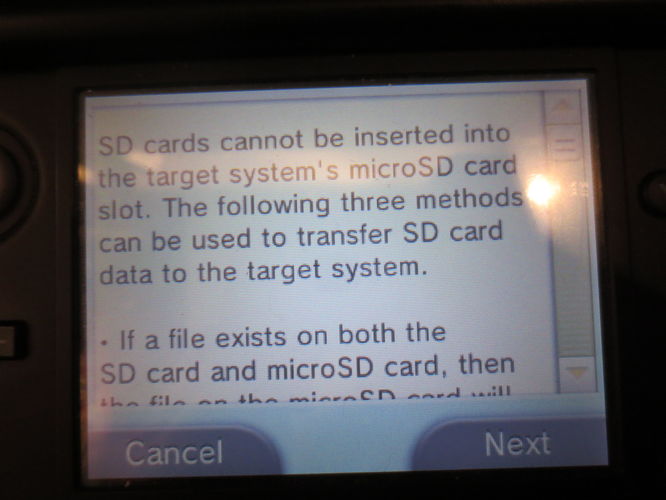
Read this
The old system will ask you which SD card you're using. If you're using a big SD card or miniSD (NOT micro) on the old system say yes.
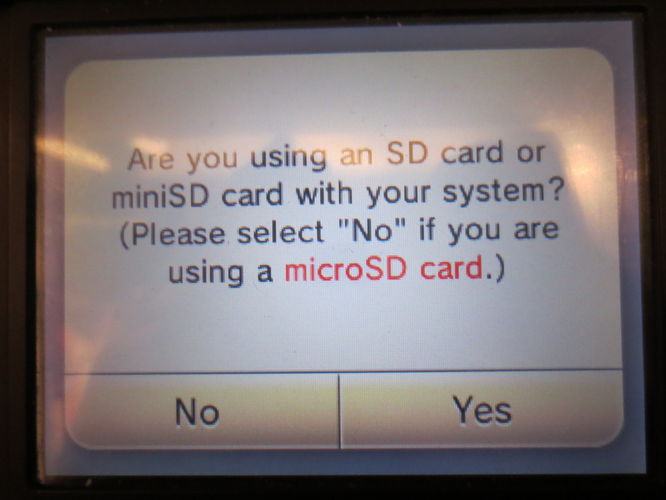
Can I ask the audience?
It'll then take you through three options on how you can transfer your data to the new console.
Wireless Transfer (All Data) will transfer everything over wirelessly, including all your games and saves. Depending on how much you have downloaded this could take a VERY long time, and is not recommended. Obviously you need to check the target microSD card is the same size or bigger than the one you're currently using.
Wireless Transfer (Limited Data) will transfer everything to your new console, except game downloads, which you'll need to re-download from the eShop by using the "account activity" list in the store. This option would be a good choice if your target microSD isn't big enough to hold all your data.
Finally you have Copy via PC. If you have the capability to copy your files from an old SD card to your PC, and then put them on the microSD via the PC, you should choose this option. It saves A LOT of time.
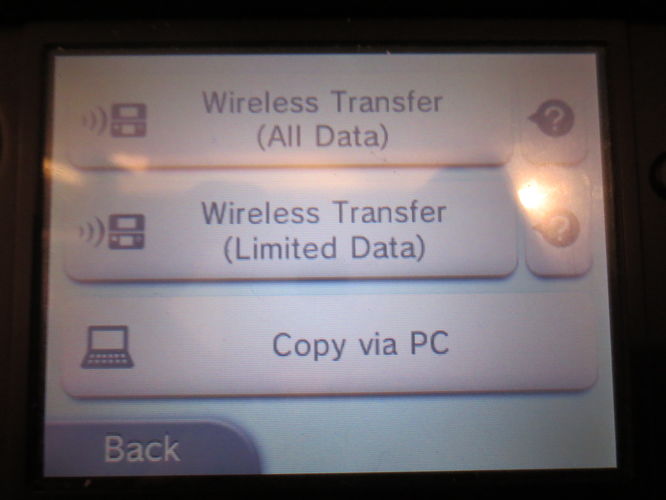
Choose which option best suits you
I chose to transfer via PC to save time
Follow the onscreen instructions
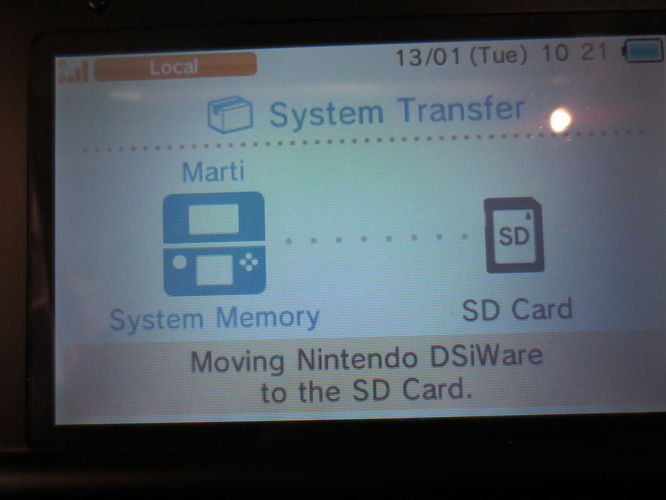
After clicking through the menus, the SD card data takes a brief back seat as the little Pikmin transfer the rest of your data to your SD card. It's important to not turn off your console or take out your SD card at this time.
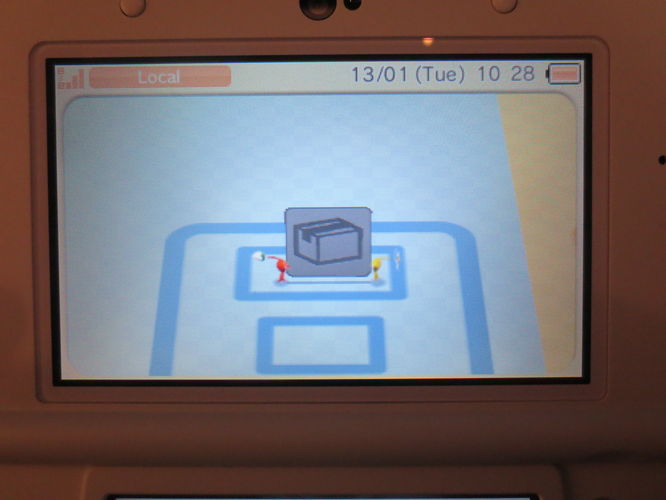
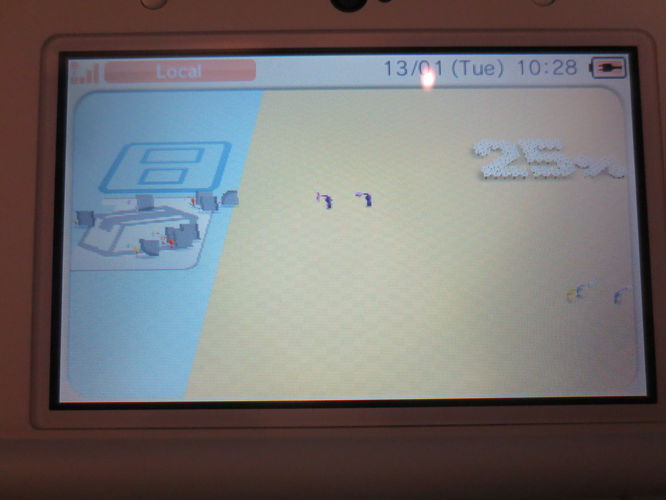
Goodbye old friend :(
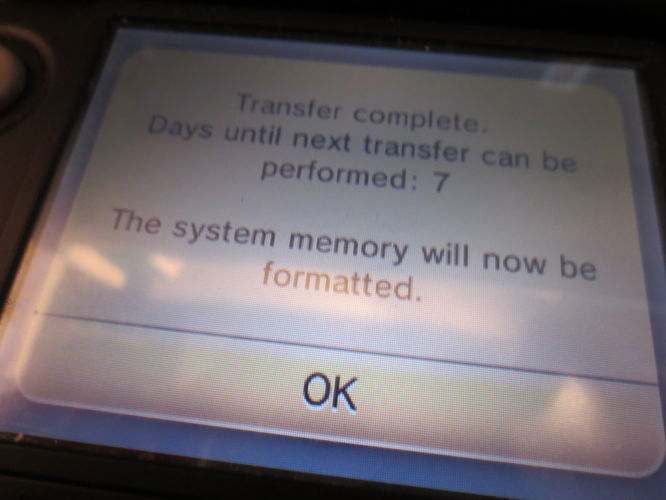
With the data now removed from the old console, and stored safely on your SD card, your old console will factory reset. Meanwhile, the new 3DS will connect to the internet to continue with the transfer.
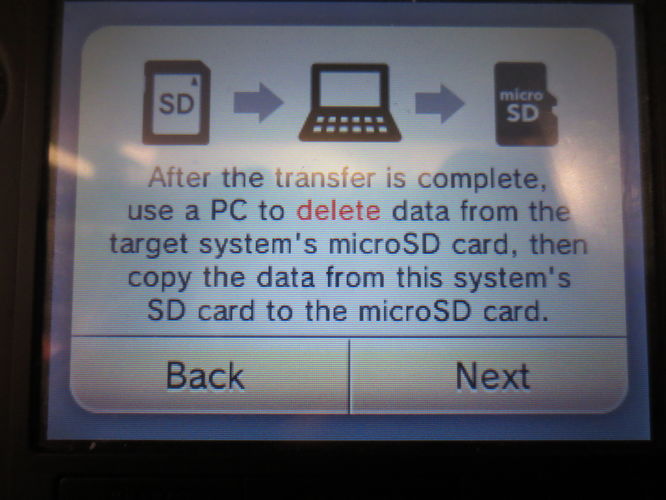
Follow the on-screen instructions. When the console's connected to the internet, and done a bit of faffing, you'll see the screen below. It's now safe to turn off your new 3DS, and transfer data to the microSD card using your PC.

It's safe to turn off your console at this screen. Do not remove SD cards from any system when they are turned on.
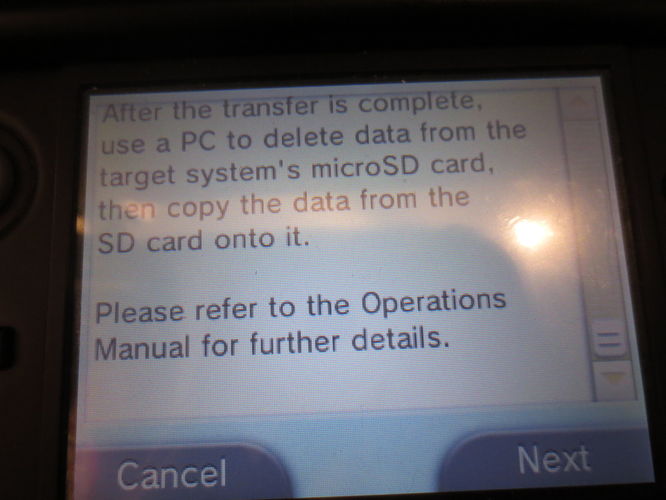
Use an SD card adapter/built into PC port to drag and drop files from SD card to PC, then PC to microSD card. This can take some time.
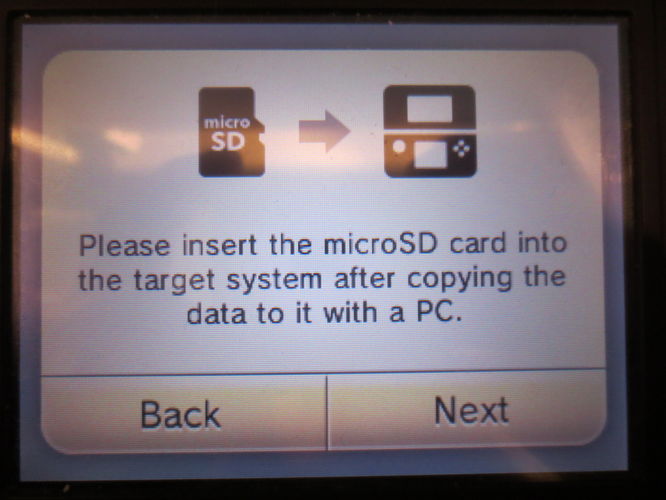
This is possibly the most involved stage of the whole process. You'll need to take your SD card out of your old 3DS, and copy all the information onto your PC. Then, you'll need to take the microSD card out of your new 3DS, plug it into an SD card adapter (or, if your PC has a built in microSD card reader, use that instead), and then copy all the files on to that. After your data has been placed on the microSD card, insert it back into the New Nintendo 3DS and switch it on, and the transfer will continue. We're on the home straight!
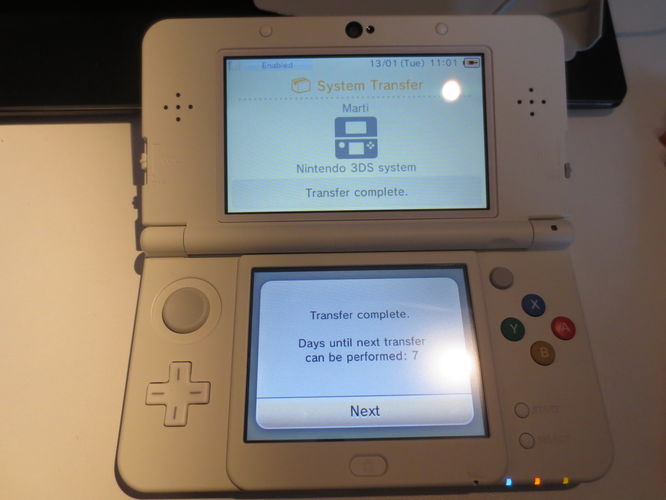
With the data successfully transferred, we're almost done! All that's left now is to screw the back panel back on, et voila!
Hello old....new friend


